
Install FontHound in Photoshop
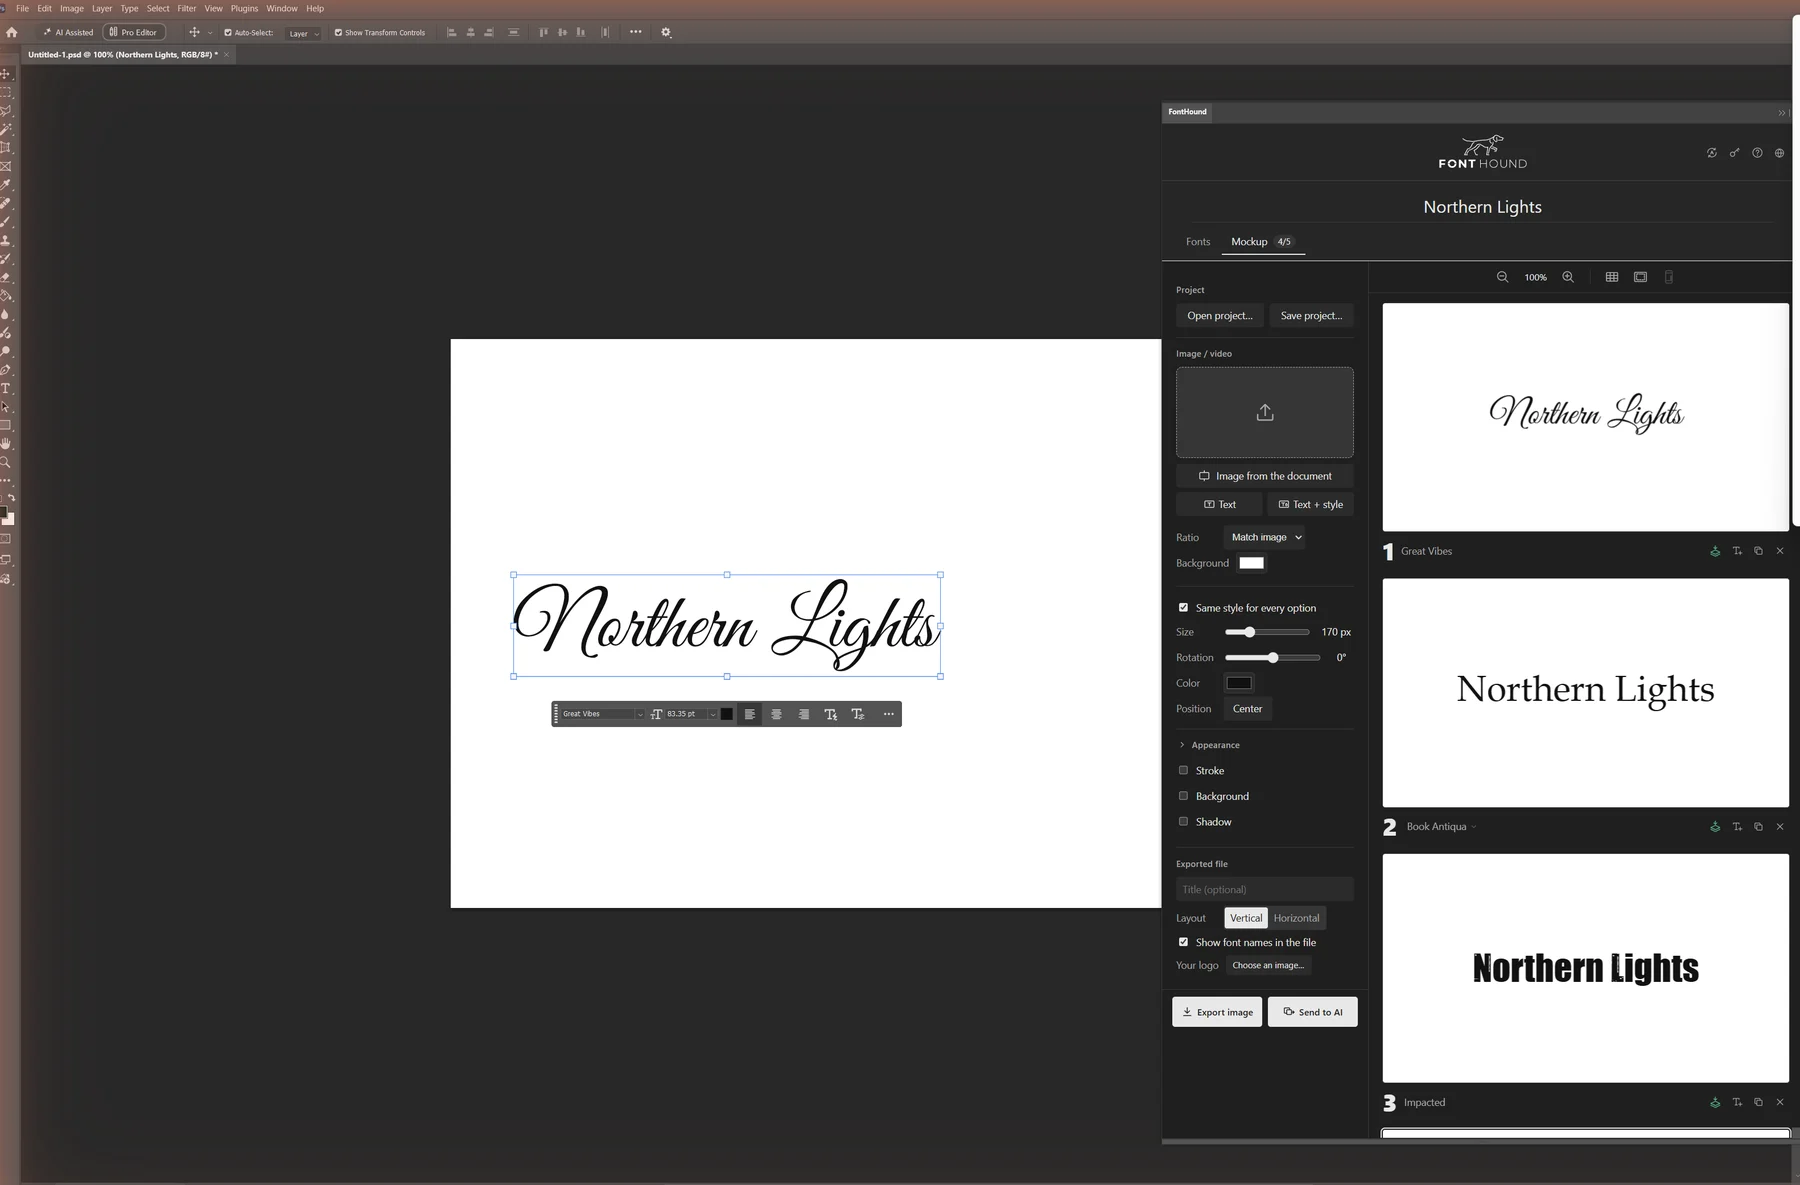
The FontHound panel opens inside Photoshop, next to your document. Setup adds it in a few clicks.
You need
- Photoshop 2025 or newer, on 64-bit Windows or a Mac with macOS 11 or later.
- The Creative Cloud desktop app (Setup adds the panel through it).
- A FontHound key. Try FontHound free for 7 days, no card.
Steps
- Save your work and close Photoshop.
- Open FontHound Setup. No Setup yet? You get it with your key at fonthound.app/download.
- Keep Adobe Photoshop ticked. Under it, Setup shows the version it found.
- Click Install.
- Paste your key and click Activate.
- Click Open FontHound. The Photoshop panel needs the FontHound app to have opened once on this computer.
- Open Photoshop.
- Choose Plugins › FontHound.
On a Mac? Open the .dmg and double-click Install FontHound, then keep Adobe Photoshop (2025 or newer) ticked under Customize. Every step: Install FontHound on a Mac.
If it doesn't work
- The panel says "Open the FontHound app once on this computer". Open FontHound from the Start menu (on a Mac, from Launchpad), then open the panel again.
- Setup says the panel needs Photoshop 2025 or newer. Update Photoshop in the Creative Cloud app, then run Setup again.
- Setup says it needs the Creative Cloud app. Install the Creative Cloud desktop app and sign in, then run Setup again.
- No FontHound under Plugins. Quit Photoshop and open it again.
- Still stuck? Write to support@fonthound.app.